Setup ghost to send out newsletter emails with Mailgun

There are two types of emails in ghost. Transactional emails & Newsletter or Bulk emails. Transactional emails are mainly used for Sending the admin invite, Sign in/Sign up emails, etc. We have a blog post SMTP Setup to send out transactional emails.
 visioun.
Now let's jump to the main focus of this article which is Newsletter emails. With ghost, you can send the posts to your members via email at once. to send these emails ghost uses & only supports MailGun. You can learn more about MailGun from here. To setup ghost & Mailgun Follow the Steps Below:
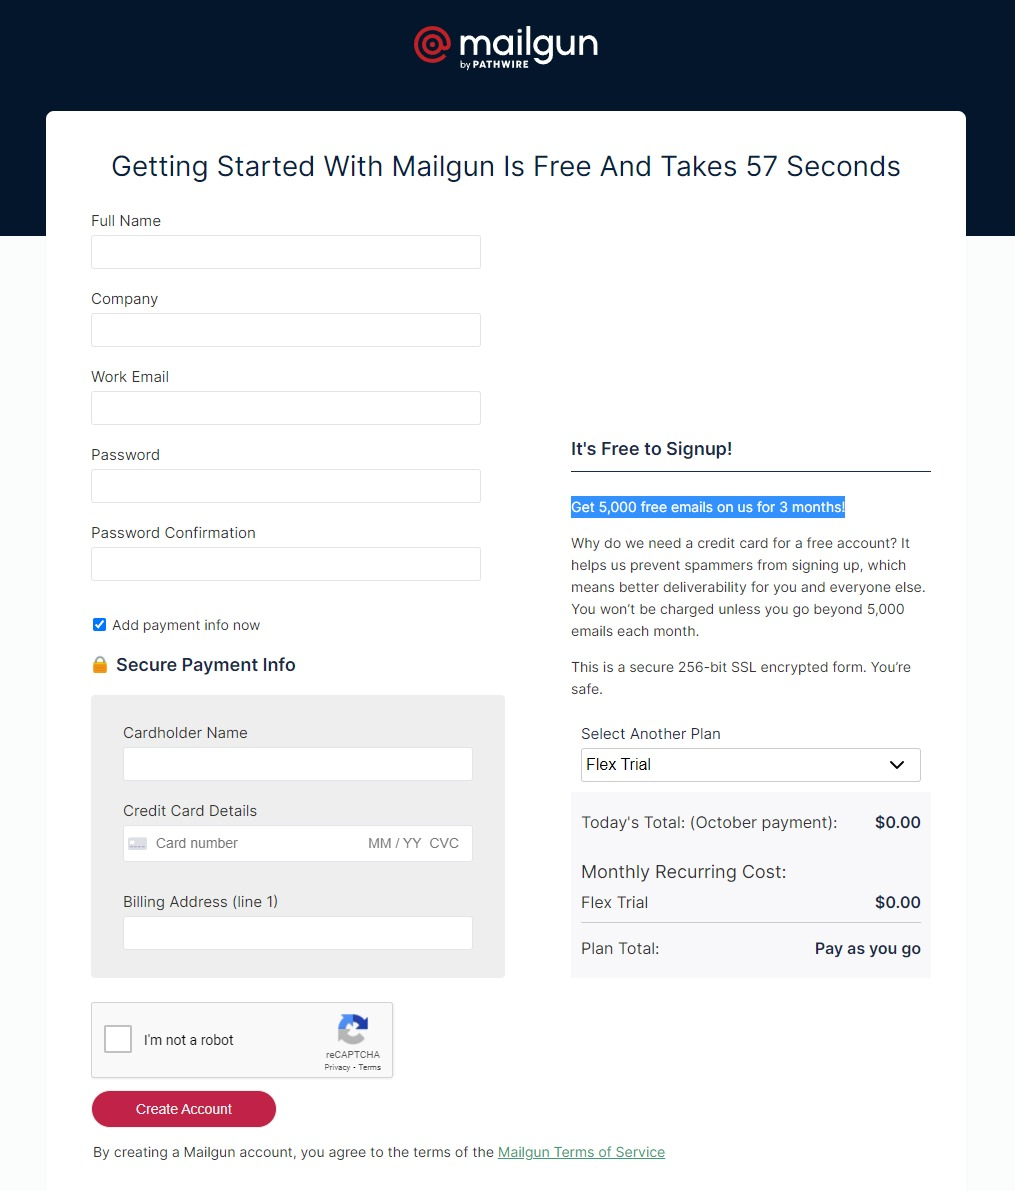
Step 1: Creating Mailgun Account.
You can easily create a Mailgun account by visiting this link https://signup.mailgun.com/new/signup. It's free to sign up & you will Get 5,000 free emails for 3 months. (Requires a Debit/Credit Card)
Step 2: Add Sending Domain to your mailgun account
After you have created your account mailgun account, now it's time to add a domain to your mailgun, which will contain the DNS records from the mailgun.
To add a domain:
- Go to Sending > Domains
- On the top right corner, click Add New Domain
- Note From Mailgun When Adding a Domain
We recommend using a subdomain with Mailgun, like "mg.mydomain.com". Using a subdomain you will be able to send emails from your root domain e.g. "[email protected]". If using a subdomain please make sure that you configure MX records for the subdomain for optimal delivery.
- Enter your domain Name & Choose the domain region

- Hit Add Domain
Step 3: Verify the Domain
After you click Add Domain, you’ll be taken to a screen asking you to add DNS records to your domain. Leave this screen open for the next step.
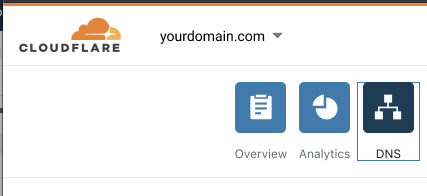
Once you get the DNS records generated by mailgun, you have to add these records to your hosting provider. For this tutorial, we are using Cloudflare to demonstrate the process.
Login to Cloudflare & click on DNS
Next, you’ll be asked what type of DNS records you want to add. We’ll go through each one individually.
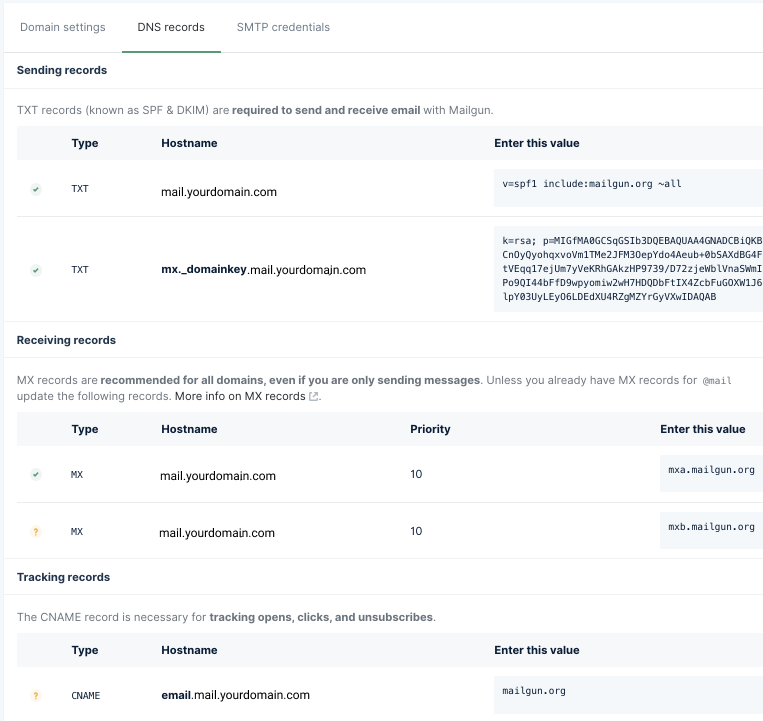
TXT Records
The first records Mailgun asks you to add are TXT records. We will add two separate TXT records, one for SPF and one for DKIM. These are required to send and receive emails with Mailgun.
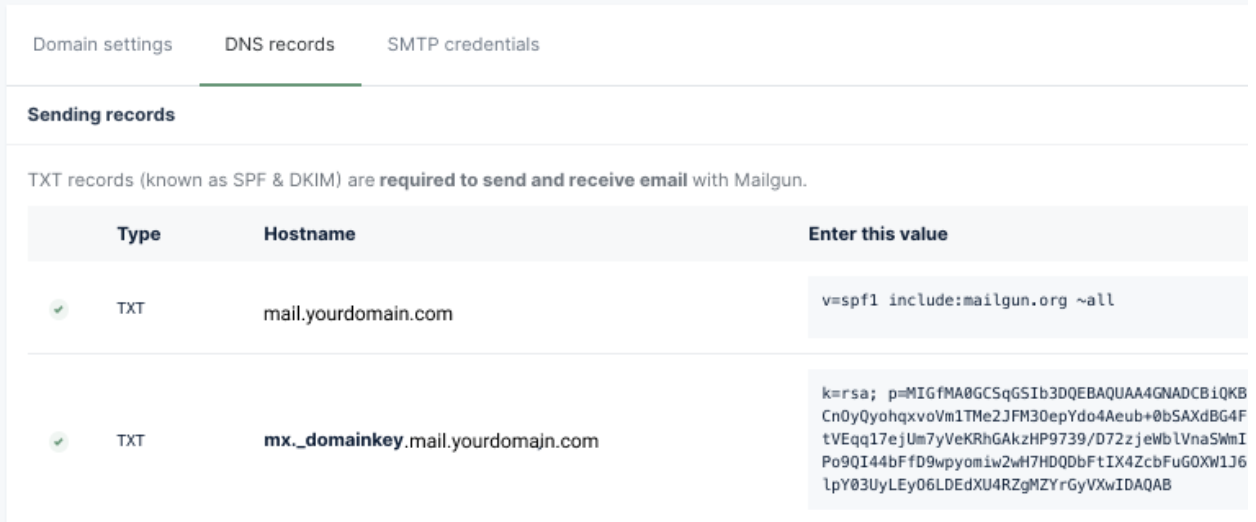
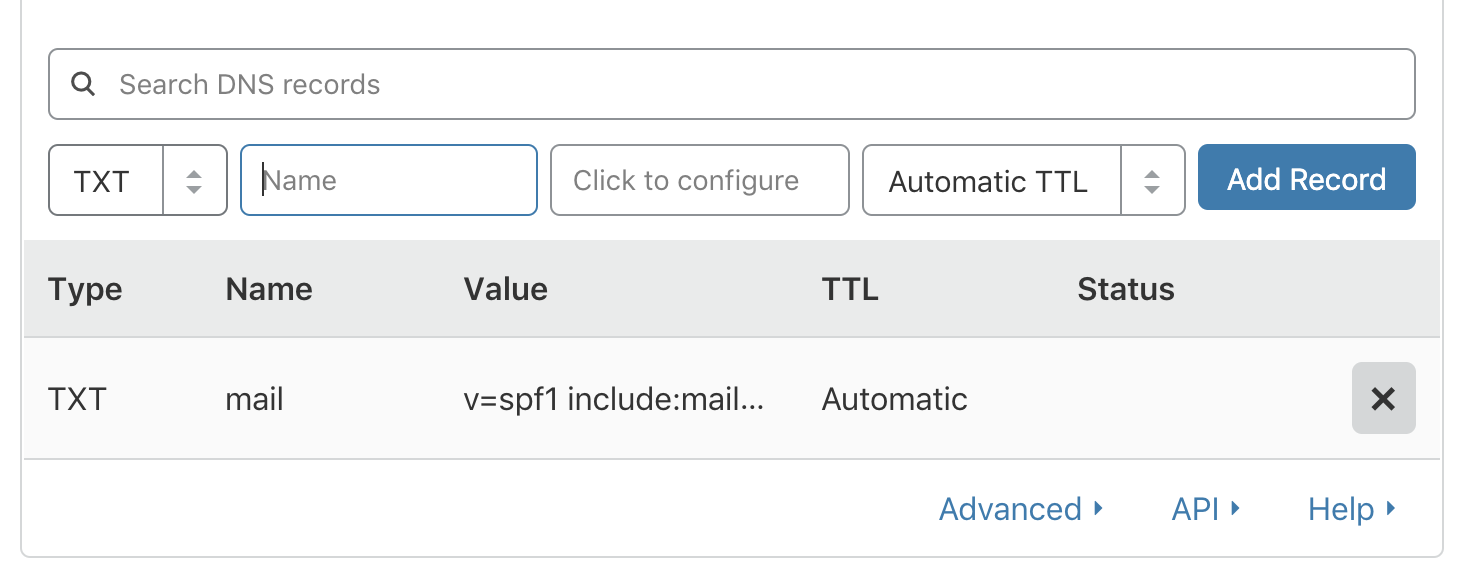
If you’re using a subdomain, add a new TXT record with mail.yourdomain.com as the hostname (with certain providers, you may just have to enter the subdomain, which would just be mail in this case) and the appropriate value Mailgun provides. You can leave TTL as the default option.

If you’re not using a subdomain, most providers will accept @ as the hostname when creating DNS records for the root domain. Here’s an example:

Clicking Add Record will add your first DNS entry for your domain!
Add another TXT record for mx._domainkey.mail.yourdomain.com. Cloudflare only shows the subdomain, so your result will look like this:

MX Records
Next, you need to add MX records. Mailgun requires you to add two separate MX records.
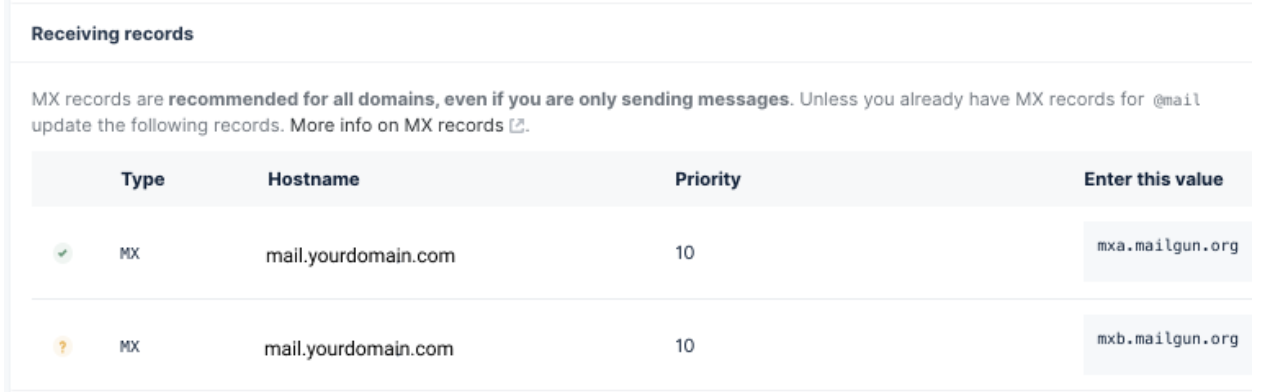
You will add the MX records the same way you did with the TXT records. The hostname, in this case, is mail.yourdomain.com You’ll also be asked for priority, which should be 10.

CNAME Record
Lastly, you will need to add a CNAME record. The CNAME Record is what enables Open and Click tracking. This is highly recommended to reap the full benefit of Mailgun and gain insights into your email performance.
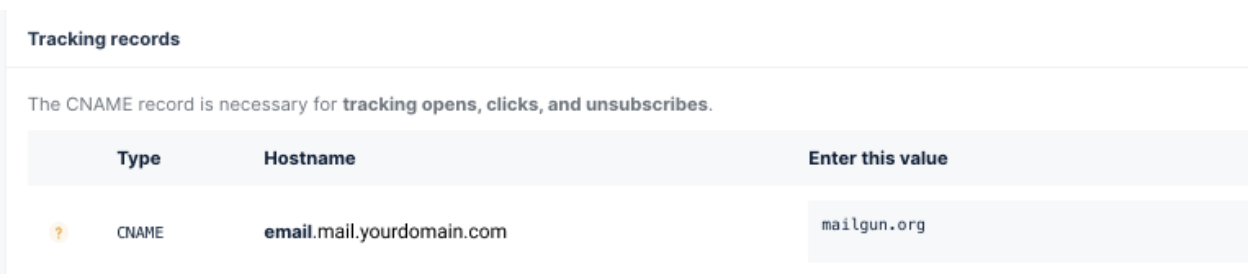
Add the CNAME the same way as the others. The hostname here is email.mail.yourdomain.com

Wait for a couple of minutes (Maximum an hour) to propagate. & then click on Verify DNS button. If all records were propagated your domain will be verified if not then wait for some more time & retry (Make sure you have added the dns records correctly)
Step 4: Get the API key
For security, it's a good practice to generate a domain-specific API key instead of using your account API key.
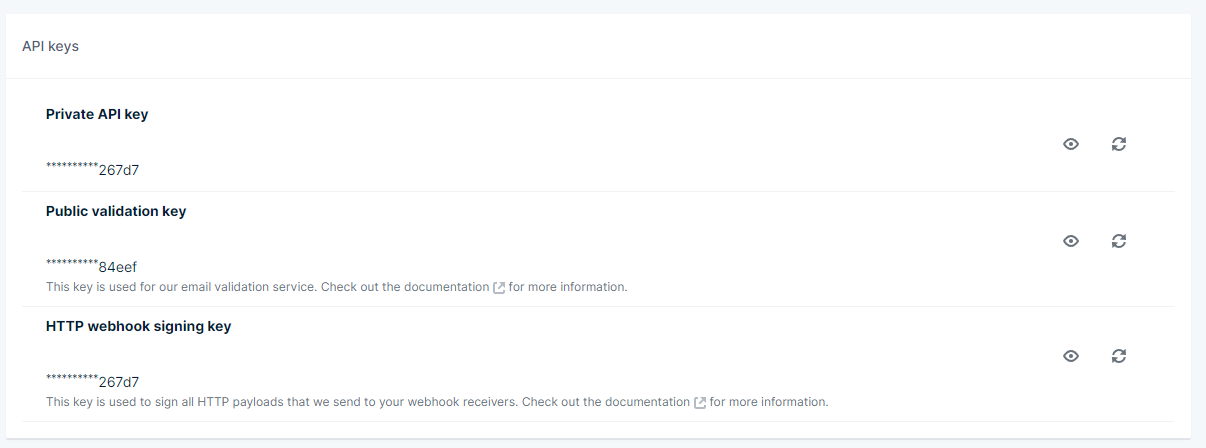
Account API Key
you can grab your Account API Key by visiting Setting > API Keys
Sending domain API Key
For a domain-specific API key you need to generate one by Visiting Sending > Domain Setting > From the top right corner, Click Add Sending Key.
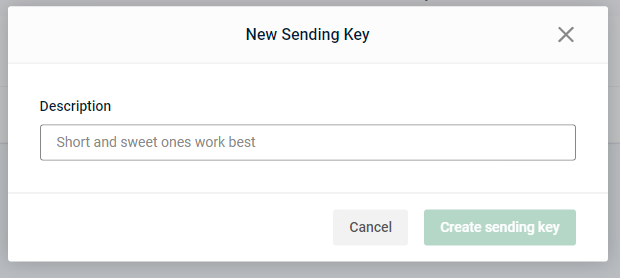
Add a short description to it & click Create Sending key
Note: The Generated key will be visible only once, So save it in a secure place.
Step 5: Add the key to your ghost publication
To Add the Sending API Key to your Ghost publication.
- Login to your ghost admin
yourdomain.com/ghost - Navigate to Setting > Email newsletter
- Under Email, Section Expand Email newsletter settings
- Set the mailgun region
- Add the domain name as you have added on mailgun
- add the sending API key
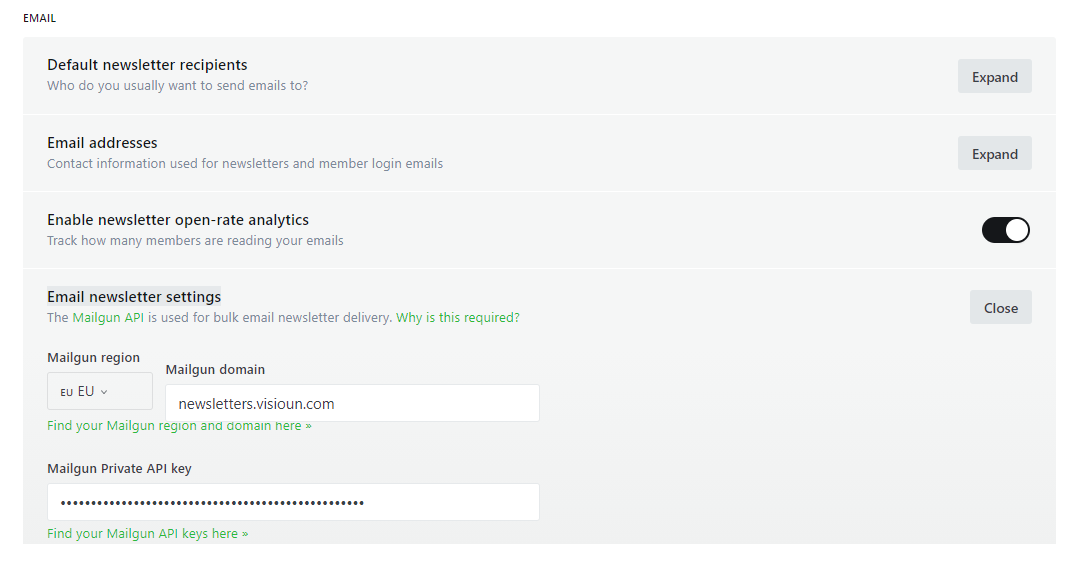
- Hit Save Settings on the top right corner
All done! now you can send bulk/newsletter emails to your subscribers.